How do we use the KX-Creator Tools?
First things first you need to download the KX-Creator Tools, those usually can be found at this channel
Sometimes Antivirus software will detect foreign programs as a false alert, if it does not let you download it at all please make sure to deactivate it
After downloading the .exe onto your pc, i recommend putting it in a folder of its own. Then install the APK by dragging it onto an emulator or download it onto your android phone. Install the IPA by sideloading it onto your iDevice.
[If you’re on iPhone skip to the very bottom when installing the CA-Certificate] 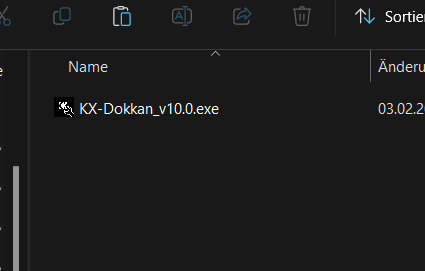
As you can see in this image, the .exe file is now in the folder.
If we start it we should be able to select our language, after a while it should take us to the login page. Please log-in with your Discord credentials.
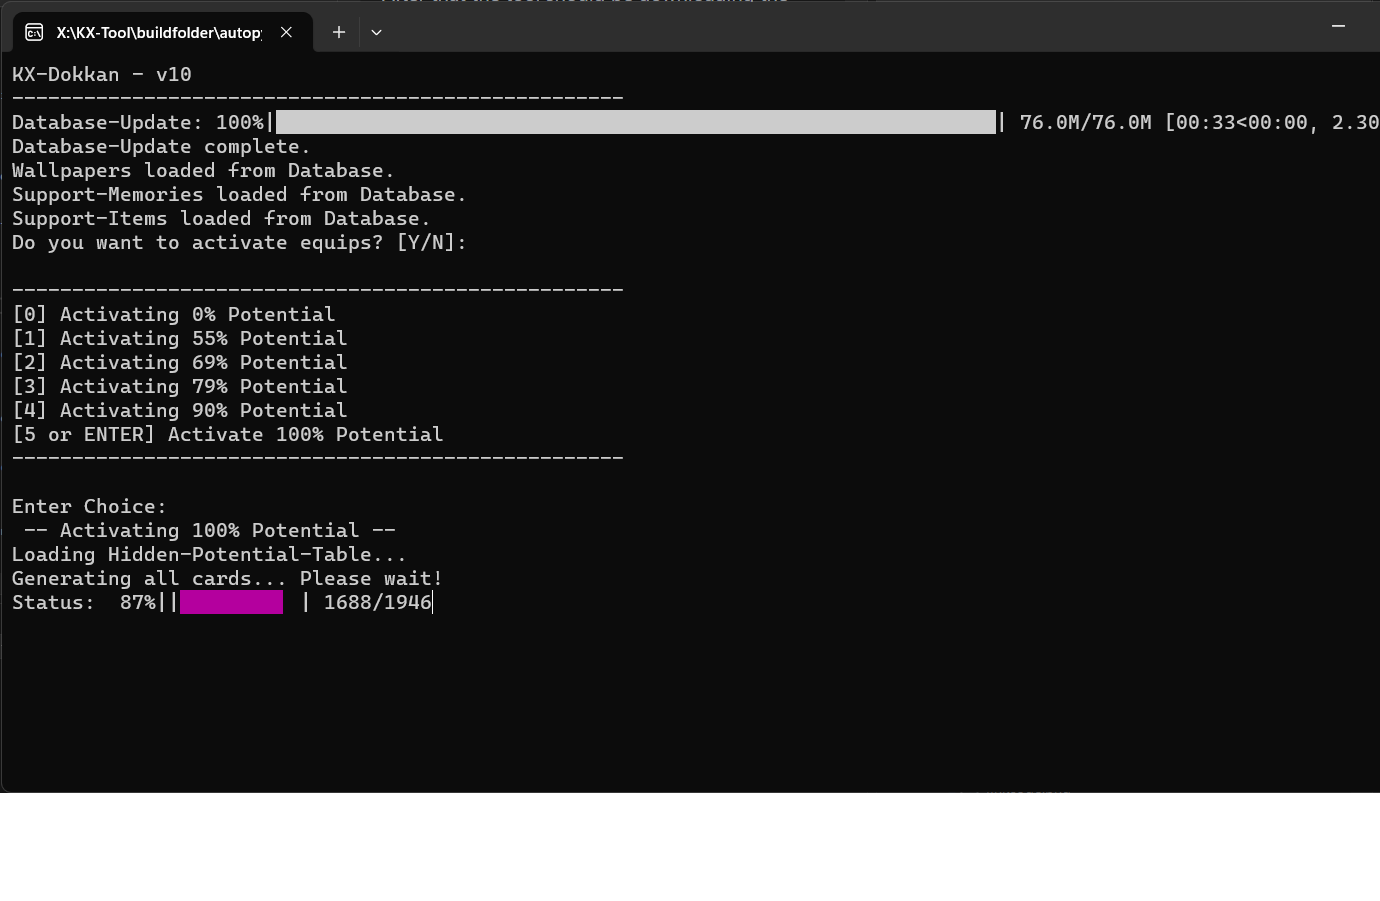
After that the tool should be downloading the latest Database, then it will ask you whether you want to use equips and what hidden potential level you wanna go with.
And afterwards it should generate all the cards, please wait until it is done. If the tool asks for permission to be able to host in the current network, allow that.
 After that you should be able to see a few of your local IPs.
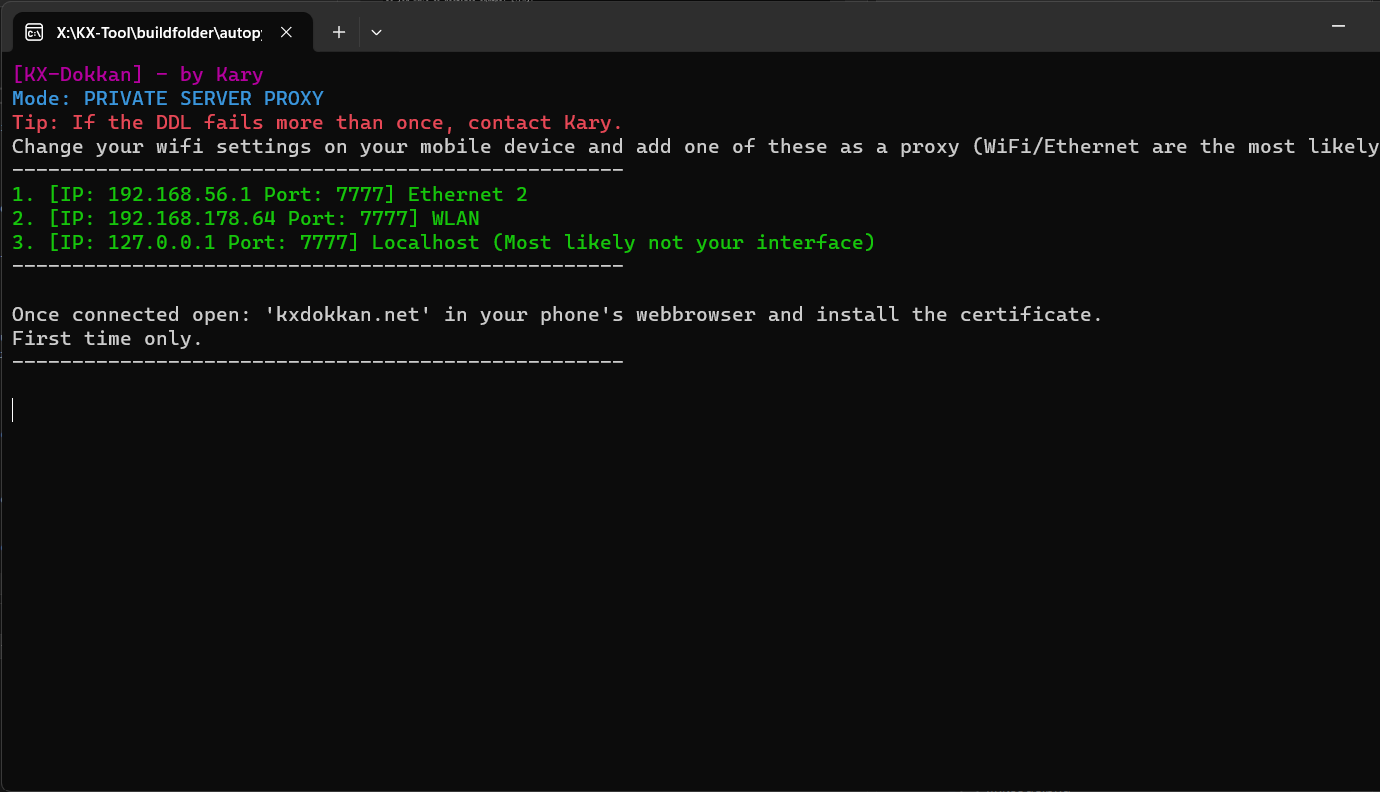
You want to go with the one IP that seems the most likely for your local network, usually they start with 192.168.X.X Considering my Laptop is connected via WiFi/WLAN I’m going with the WLAN one since its the most likely. (Localhosts, 127.0.0.1 are never the correct one.)
now I’ll head to the device/emulator where i installed the KX-Creator APK.
If you’re using a real device, make sure its connected to the same WiFi network. 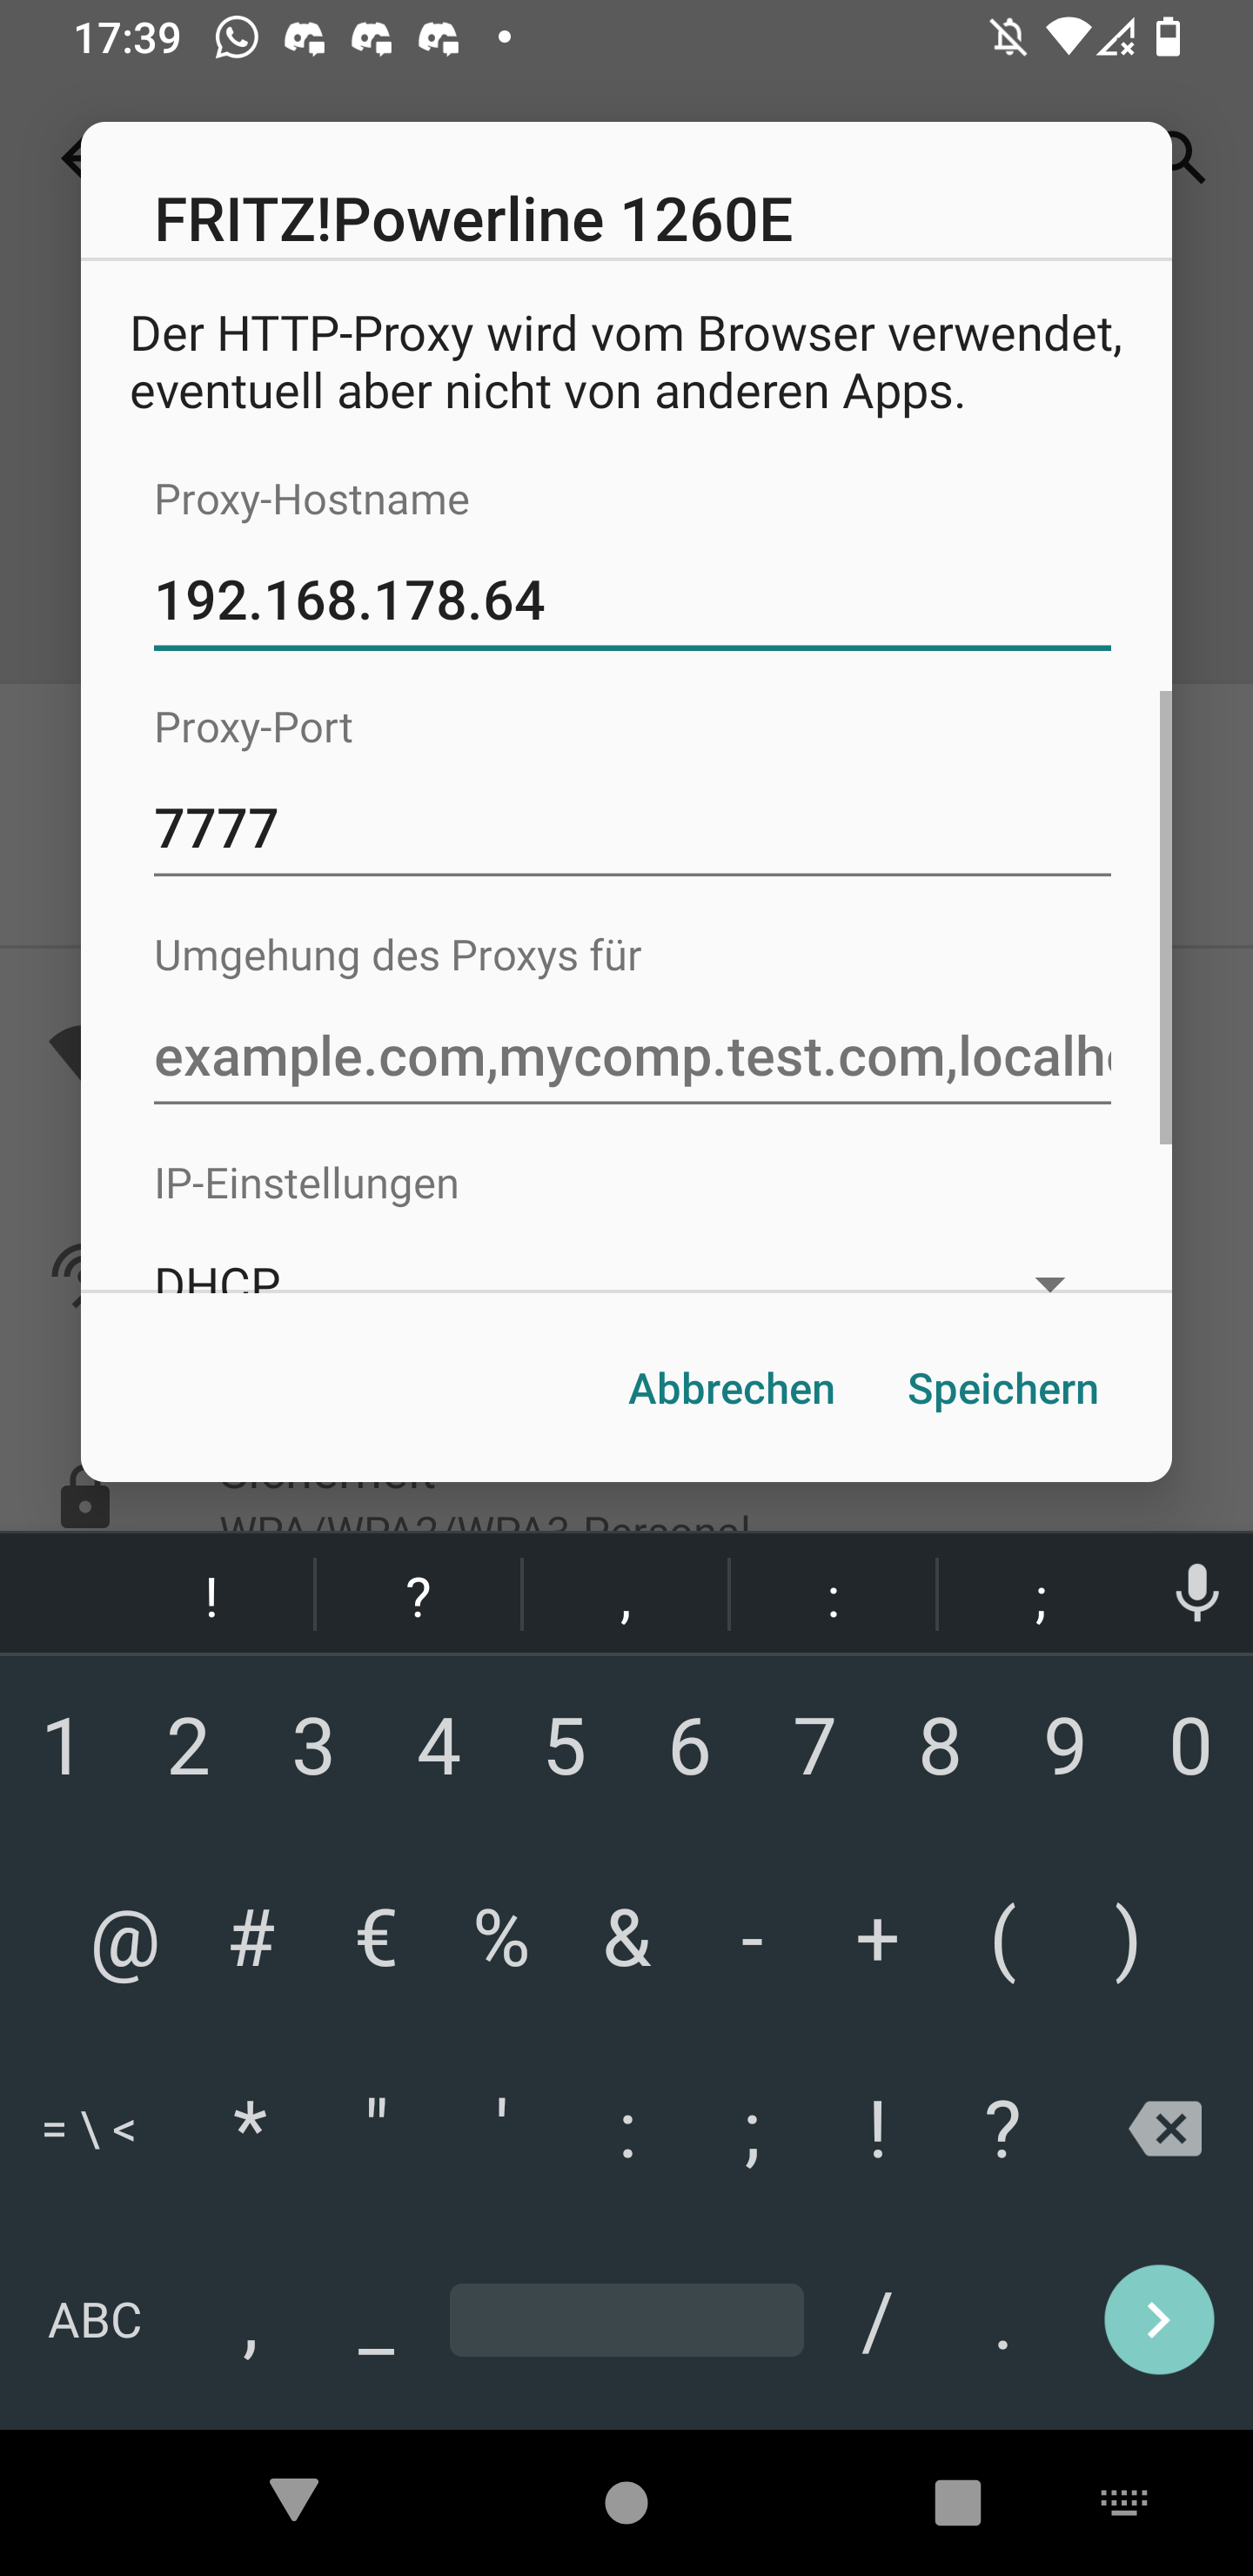
as you can see here you want to modify the WiFi Network you’re connected to, usually you can do that by long pressing onto it and pressing modify or with a little cogwheel and then the pencil icon.
You want to go to “Advanced Settings” and Set the Proxy to Manual. Then we enter our IP as follows into the Proxy-Hostname/IP Field and our Proxy-Port is 7777 by default. Now we save those settings and we should be good to go.
First time setup only:
After that you’ll open your browser and head to kxdokkan.net
If you see a not successful error message, select a different IP from your local network, it seems you picked the wrong one.
you should see this page, please select Get mitmproxy-ca-cert.cer from the ANDROID section. [iOS go to very bottom of this tutorial] 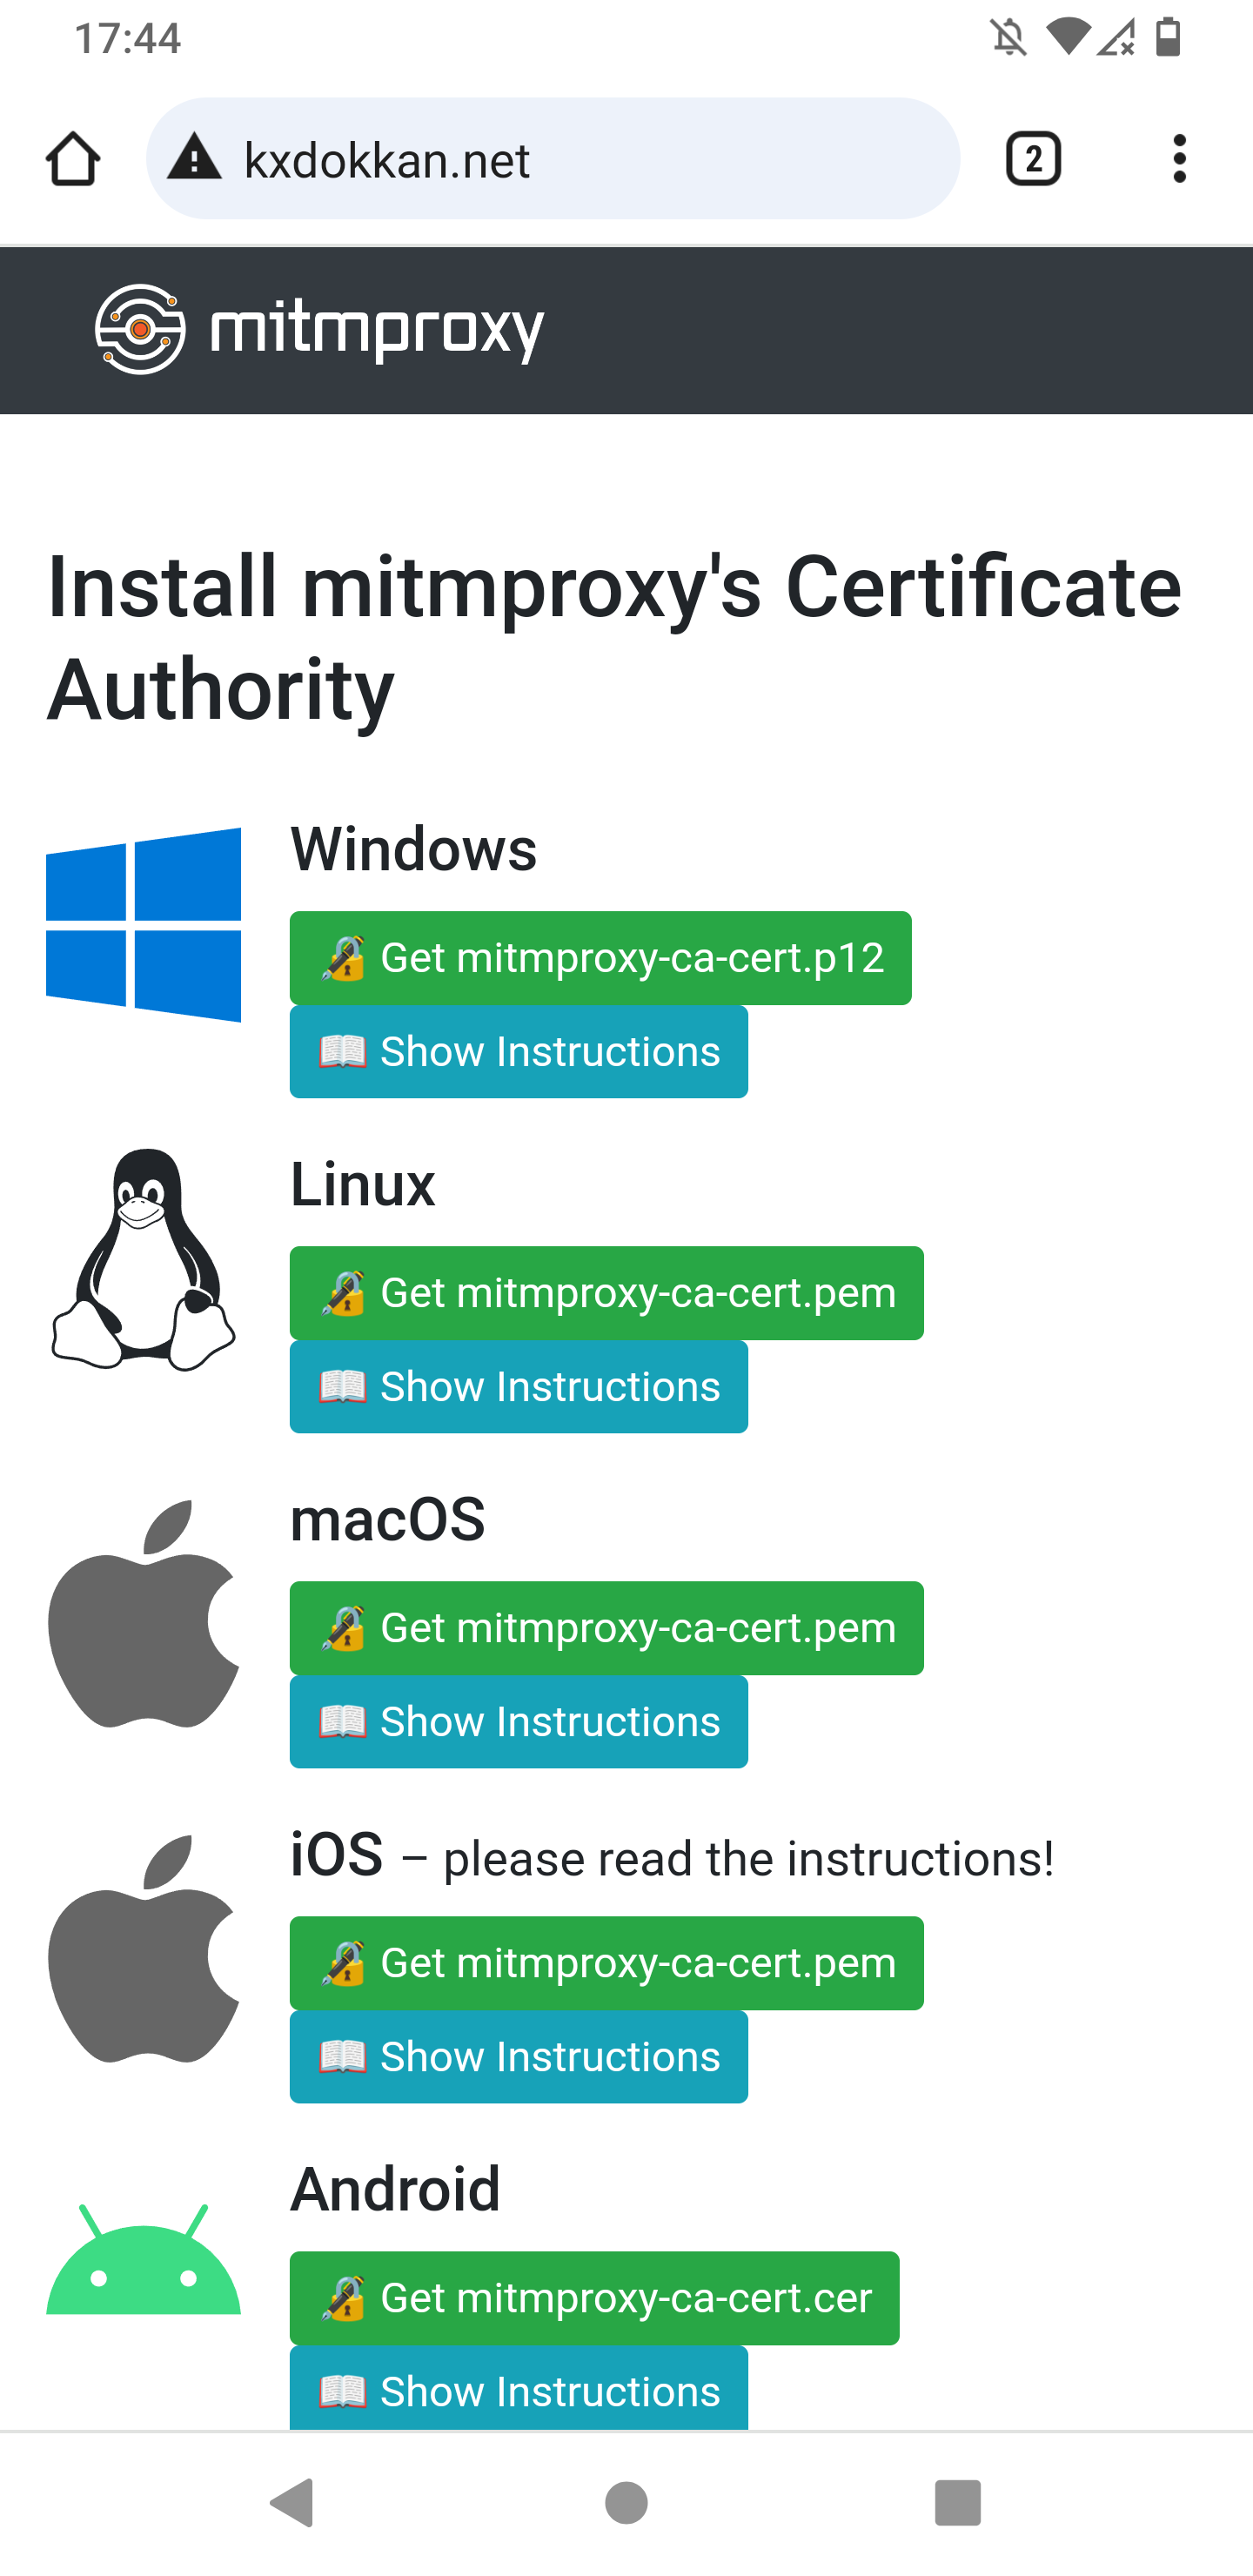
After that the browser should download a .cer certificate, Head to settings then Security > Encryption & Credentials > Install a certificate > CA certificates > Ignore the warning and press “Install Anyways” > Confirm any PIN/Fingerprint you have and select the .cer file we just downloaded.
Sometimes it will ask you to set up a fingerprint or PIN, you should do that and remember it.
(This step can vary from device to device, thus you should look up how to install a CA-Certificate for your specific device or use the search function in your settings app.)
After that a small bubble should pop-up [CA-Certificate installed]
Now we’re good to go.
After that with your proxy set up properly and the CA-Certificate installed we can launch the KX-Creator App on your phone.
The app should start normally like the regular dokkan app. Now we want to press the Red Button for the Linkcode entry similarly to Plus or Vanilla. 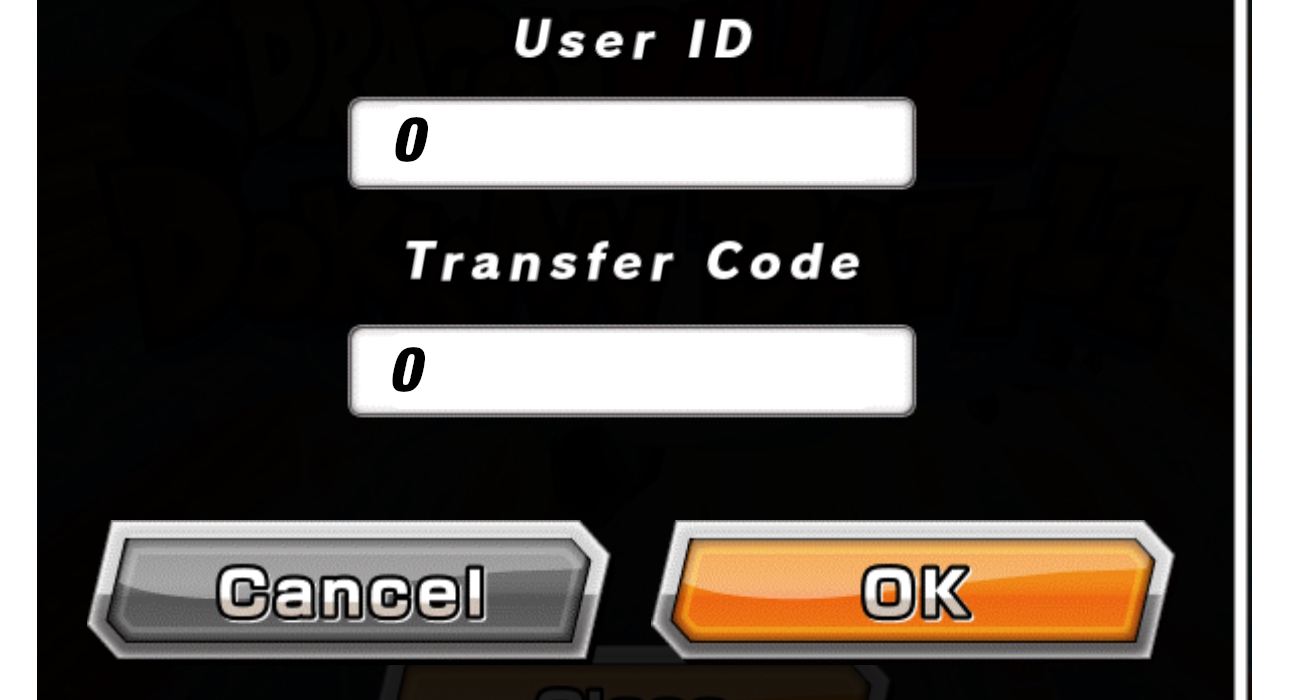
Enter 0 in both fields and hit OK and it should load up the account. (If you accidentally pressed the orange button just restart the app and retry) 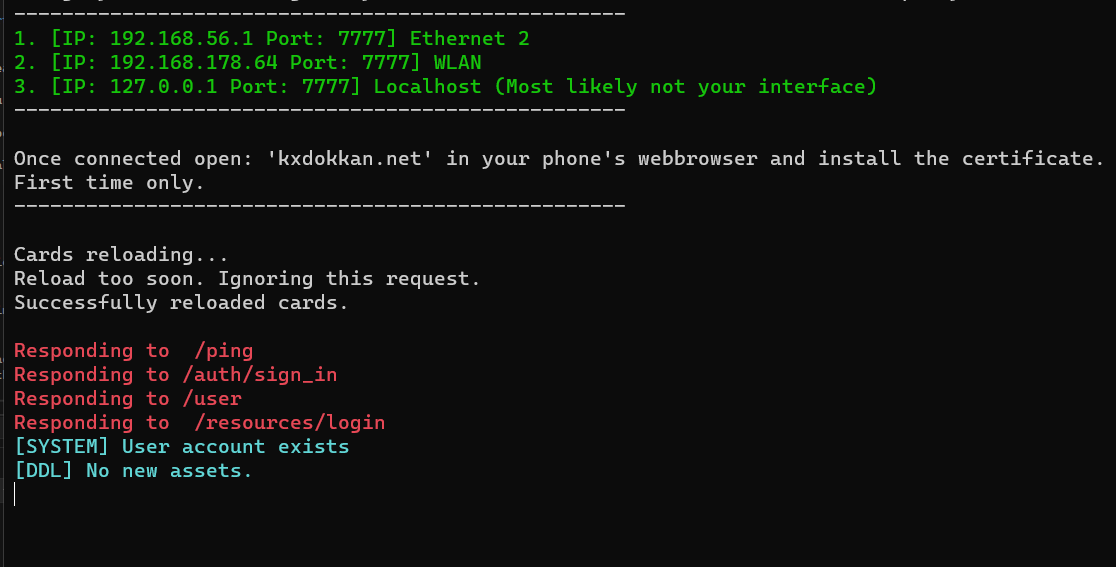
As you start the app and do the Data-Download and progress within the Creator app you should also see that the tool prints responses aswell matching your actions.
After that you should be inside of the App all logged in and ready to go!
(Important: make sure you dont mark any text within the Creator-Tool since that tends to freeze it up, just click into it and press enter to unmark it.)
` The tool automatically downloads the latest vanilla database encrypted to the folder we put it into. Check the jp.db and make a copy of it to use for content creation. `
NOTE: The KX-Creator app has its asset folder in /sdcard/Android/data/com.kary.kxcreator/files On iOS use the KX-InjectorHost Tool.
You do NOT need Root or any asset injection in order to place your database and assets into the file. If you make changes to your jp.db in the PC-Tool folder make sure its 1:1 with the encrypted database.db file that you put into App’s directory.
JP Password: 2db857e837e0a81706e86ea66e2d1633
Installing the certificate on iOS
If you’re on iOS you can sideload the KX-Creator IPA and head to your wifi settings similarly like the Android Process describes it. Afterwards you’ll also head to the mitmproxy page but you’ll select the iOS one and then tap “iPhone” if asked.
Afterwards you’ll just open your settings and see “Profile loaded” just allow/install it with your passcode and that should be it, the other steps are about the same. ___